Success at high altitude for a trekker over 40 is not about being fitter; it’s about being smarter and more specific with your physiological preparation.
- Your body’s response to low oxygen (VO2 max) declines more sharply, requiring targeted training focused on vertical gain, not just generic cardio.
- Recovery and nutrition strategies, especially carb-loading, must be adapted for a mature metabolism to avoid performance-killing side effects like water bloat.
Recommendation: Prioritize a structured 12-week plan that systematically increases incline, and master non-medication techniques to manage acclimatization symptoms before you even step on the trail.
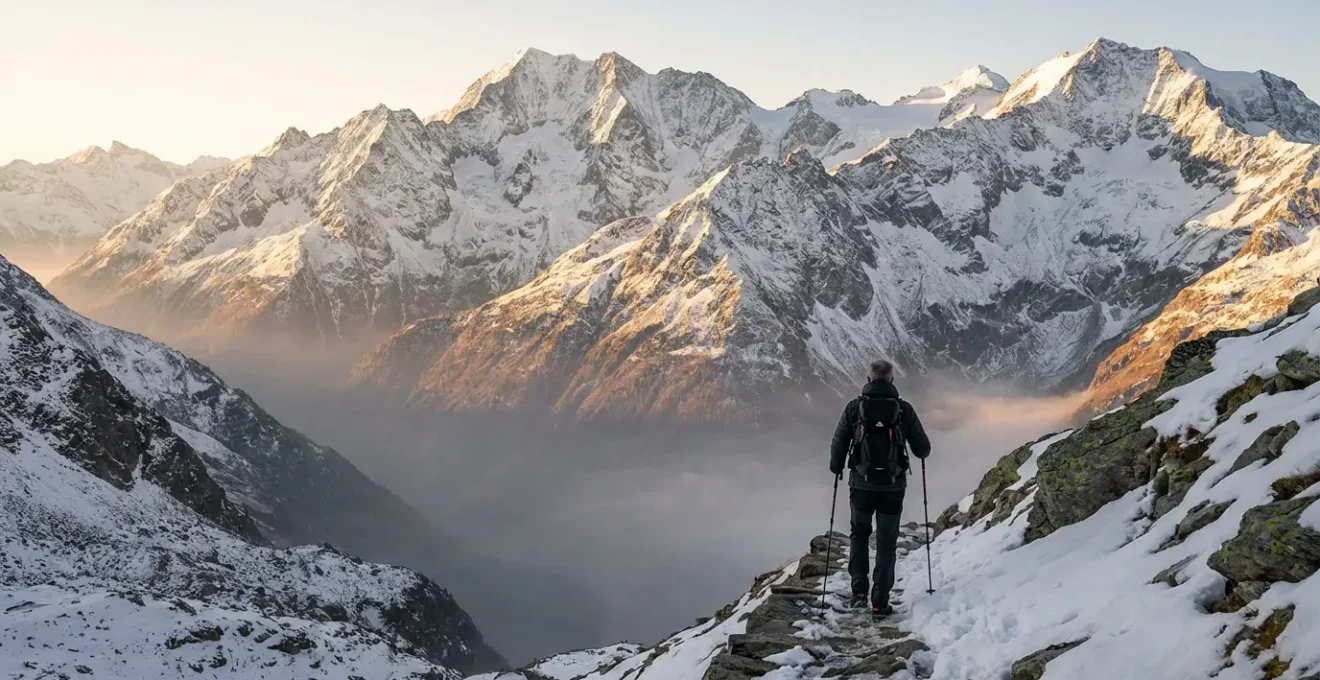
The call of the high mountains—summits like Mont Blanc or the roof of Africa, Kilimanjaro—is a powerful one. For the fit and active individual over 40, the question isn’t about desire, but about capability. You have the fitness from years of hiking, running, or cycling, but a nagging voice asks, “Is my body still up for the unique challenge of high altitude?” The internet offers a torrent of generic advice: “acclimatize slowly,” “stay hydrated,” “do lots of cardio.” While not wrong, this advice is dangerously incomplete for your specific demographic.
Here is the uncomfortable truth that a responsible guide must deliver: your physiology responds to the thin air of high altitude with a different set of rules after 40. The rate of adaptation is different, the margin for error is smaller, and the consequences of miscalculation are more severe. Simply doing *more* of what you did in your thirties is not a strategy; it’s a gamble. The key isn’t more effort, but more intelligence, more specificity, and a deeper understanding of the physiological ‘why’ behind every decision.
This guide is built on that truth. We will not rehash platitudes. Instead, we will dissect the age-specific physiological responses to altitude, construct a precise 12-week training protocol designed for vertical gain, and provide a professional-grade risk-management framework. You will learn to differentiate between benign discomfort and dangerous symptoms, choose the safest season for your attempt, and optimize your gear and nutrition with the precision of an experienced mountaineer. This is your blueprint for turning an ambitious goal into a successful, and safe, reality.
This article provides a comprehensive roadmap for your preparation, covering the science of altitude’s effect on your body to the practical details of your training plan and on-mountain management. The following sections will guide you through each critical step.
Summary: The Definitive Preparation Guide for High-Altitude Trekking After 40
- Why Your VO2 Max Drops by 10% for Every 1000m of Elevation Gain?
- How to Structure a 12-Week Cardio Plan Specific for Vertical Gain?
- June vs September: Which Month Offers Safer Conditions for Alpine Crossings?
- The Mild Headache That Can Escalate to HACE Within 12 Hours
- How to Cut 2kg from Your Base Weight Without Sacrificing Safety Gear?
- How to Integrate Cold Plunges into a Morning Routine Without Missing Work?
- When to Start Reloading Carbs Before a Race to Avoid Water Bloat?
- Managing Intense Acclimatization Symptoms During Rapid Ascents Without Medication?
Why Your VO2 Max Drops by 10% for Every 1000m of Elevation Gain?
The core challenge of altitude is hypoxia—less oxygen in every breath. For any trekker, this means your body’s engine, measured by VO2 max (the maximum rate of oxygen consumption), has to work harder. As a guide, I see the real-world impact: your sea-level 5 km/h pace becomes a breathless shuffle. The rule of thumb is a stark 10% reduction in aerobic capacity for every 1000 meters you climb above 1500m. At the 4,810m summit of Mont Blanc, your body is effectively operating with nearly 40% less engine power than you’re used to.
For trekkers over 40, this effect is compounded. While age-related fitness decline is normal, the crucial point is that studies show 50-70% of VO2 max decline with age is preventable through specific training. This isn’t a reason to be discouraged; it is a mandate for precision. Your training must directly combat this drop by forcing adaptations in oxygen efficiency. This means generic long, slow distance running on flat ground is insufficient. Your body must learn to thrive under hypoxic-like stress before it ever leaves home.
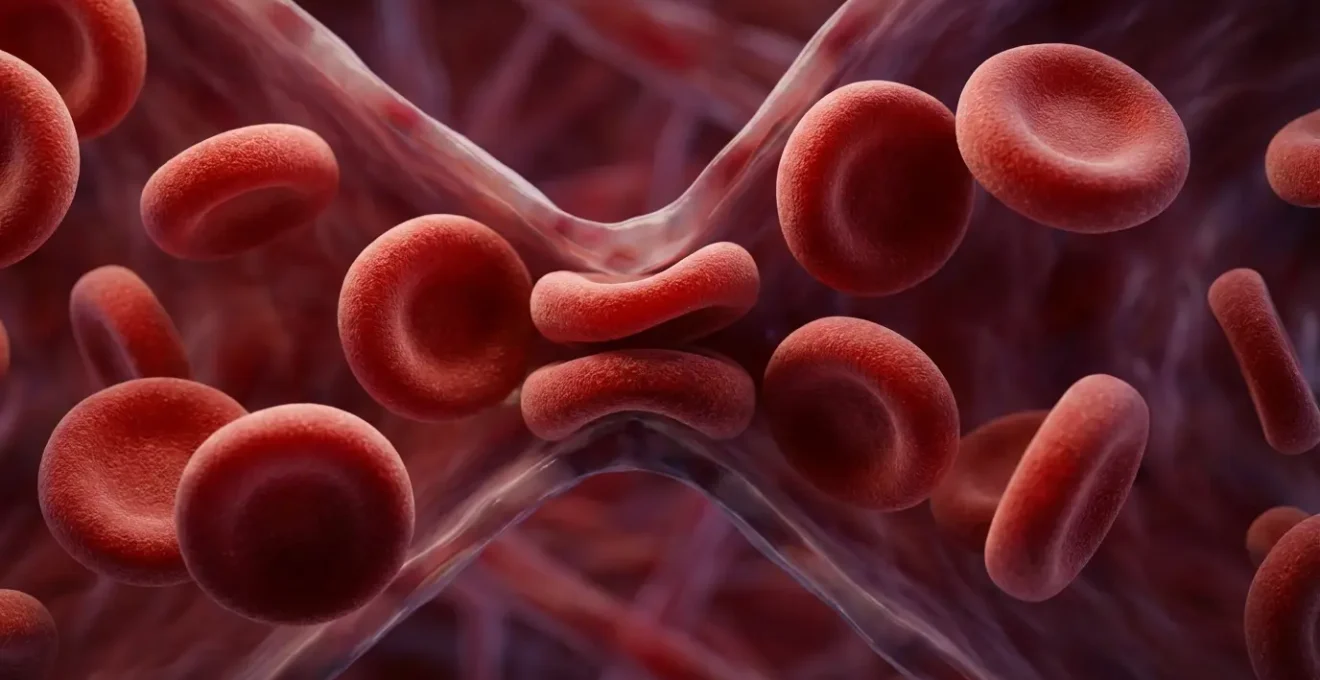
This image illustrates the very core of the problem: your blood’s oxygen-carrying capacity. At altitude, with less oxygen pressure, these cells are less saturated. Your heart beats faster to compensate, pushing blood through your system to deliver a diminished payload of oxygen. The only way to prepare for this is to train your body to become more efficient—to extract more from less. This is why pacing is a science, not a feeling. You must mechanically reduce your pace to match your reduced capacity, staying in a heart rate zone where you can hold a conversation. Pushing into the red is not a sign of toughness; it’s a sign of a critical strategic error that can end your trek.
Understanding this physiological reality is the first step. The next is to build a training plan that directly addresses it, turning a potential weakness into a well-managed variable.
How to Structure a 12-Week Cardio Plan Specific for Vertical Gain?
Your preparation cannot be haphazard. A 12-week, structured, and progressive plan is the minimum standard for a safe high-altitude attempt for a beginner over 40. The goal is not just “cardio”; it is building an engine specifically tuned for relentless, loaded, uphill trekking. The focus must shift from horizontal miles to vertical feet. Your training must simulate the specific stresses of a long ascent: sustained low-intensity effort on steep gradients, often with a pack.
The following plan outlines the core principles of this progression. The key is the systematic increase in incline and volume, balanced with mandatory recovery periods. For the 40+ trekker, recovery is not optional; it is a critical component of adaptation. The ‘deload’ weeks are when your body actually gets stronger.
The training plan below, based on protocols from proven high-altitude expedition companies, breaks the 12 weeks into distinct phases. Each phase builds upon the last, ensuring you arrive at your trek prepared, not destroyed.
| Weeks | Phase | Weekly Volume | Key Focus | Recovery Protocol |
|---|---|---|---|---|
| 1-3 | Base Building | 4-5 hours | Zone 2 endurance, flat terrain | 1 rest day + light stretching |
| 4-6 | Incline Introduction | 5-6 hours | 15-20% grade on treadmill/stairs | Week 6: deload (50% volume) |
| 7-9 | Vertical Loading | 6-7 hours | 25-30% grade + weighted pack | Week 9: deload (50% volume) |
| 10-12 | Peak & Taper | 4-5 hours | Simulate trek conditions | Week 12: minimal activity |
Case Study: Urban Training Protocol Success
For those without mountains in their backyard, this approach is still entirely achievable. A 3-month urban training program using stair climbers and treadmills at 15-30% incline showed participants achieving equivalent fitness gains to those training on actual mountains. The non-negotiable success factors included not just the climbing, but mandatory “pre-hab” exercises like ankle mobility drills and IT band foam rolling to prevent injury under load, and a strict 3:1 work-to-recovery ratio specifically adapted for the slower recovery cycles common in the 40+ age group.
This plan is your roadmap. It requires discipline and consistency, but it systematically removes the guesswork and builds the specific physical resilience needed to stand on your target summit.
June vs September: Which Month Offers Safer Conditions for Alpine Crossings?
Choosing your trekking window is one of the most critical risk-management decisions you will make. It’s not about finding the best weather; it’s about selecting the conditions that offer the widest safety margin for your specific profile as a beginner over 40. In the Alps, the two most popular “shoulder season” months are June and September. A common mistake is to see them as equivalent. They are not. Each presents a distinct set of hazards and advantages that must be weighed with a guide’s mindset.
June offers the allure of long daylight hours and lush, green valleys. However, it carries a significant, often underestimated risk: residual winter snow on high passes. These snowfields can be hard, icy, and treacherous, requiring axe and crampon skills that a beginner may not possess. Afternoon thunderstorms are also more frequent and violent, posing a serious threat above the treeline. For a slower-moving party, the extra daylight can be a benefit, but it doesn’t negate the objective hazards.
September, in contrast, typically offers the most stable and predictable weather of the year. The trails are almost entirely snow-free, making for faster and safer passage. The trade-offs are shorter daylight hours and colder temperatures, especially at night. However, for a well-prepared trekker, cold is a manageable problem with the right gear. Unstable, icy terrain is a far more dangerous one.
As this table from a risk assessment matrix shows, the choice for a beginner over 40 leans heavily towards one month. Your goal is to minimize objective hazards you cannot control (like snowpack and weather instability) to give yourself the maximum capacity to manage the subjective challenges of altitude and exertion.
| Factor | June | September | Best for 40+ Beginners |
|---|---|---|---|
| Snow/Ice Risk | High – residual snow on passes | Low – mostly clear trails | September ✓ |
| Daylight Hours | 16+ hours | 12-13 hours | June ✓ |
| Weather Stability | Variable – afternoon storms | Stable – predictable patterns | September ✓ |
| Trail Traffic | High – peak season | Moderate – quieter trails | June (safety in numbers) |
| Temperature Range | 5°C to 20°C | -2°C to 15°C | June ✓ |
Ultimately, while June might seem appealing, September consistently offers the safer and more reliable window for a first high-altitude alpine trek, allowing you to focus on acclimatization rather than navigating hazardous terrain.
The Mild Headache That Can Escalate to HACE Within 12 Hours
This is the most important lesson I can impart as a guide: you must become an expert in differentiating between benign mountain discomfort and the early warning signs of life-threatening altitude illness. A mild, throbbing headache is the most common symptom of Acute Mountain Sickness (AMS). For 90% of people, it’s just that—a temporary discomfort. But in a small minority, it is the first whisper of a catastrophic failure: High-Altitude Cerebral Edema (HACE), a swelling of the brain that can lead to coma and death in as little as 12 hours. The line between the two is terrifyingly thin, and as a beginner, your ability to discern it is your most vital skill.
The challenge for the 40+ trekker is that other common issues can “mimic” the symptoms of AMS, leading to confusion and delayed action. Dehydration, caffeine withdrawal, neck tension from carrying a new pack, or even low blood sugar can all cause a headache. Attributing every headache to AMS is inefficient, but ignoring one is potentially fatal. You need a protocol.
Before you ever consider taking medication, you must run through a systematic diagnostic checklist. This is not optional. It is the first thing you do the moment you feel a headache coming on. This checklist helps you rule out the mimics and make an informed decision. If symptoms persist or worsen after applying the basic remedies, the conclusion is absolute and non-negotiable: you are developing AMS, and you must descend or, at the very least, not ascend any higher.
Your Field Diagnostic: AMS Mimic Checklist
- Rule out dehydration: Check your urine color. It should be pale yellow. If not, drink 500ml of water immediately.
- Assess caffeine withdrawal: Be honest. When was your last coffee? This is a common culprit.
- Check neck tension: Is your head being pulled forward by your pack? Perform neck rolls and test your range of motion.
- Monitor blood sugar: Have you maintained your regular meal schedule? A simple snack can often resolve a headache.
- Apply the ‘Hydrate, Rest, Re-evaluate’ protocol: Drink 500ml of water, lie down for one hour, and then reassess symptoms.
Communicate with the hike leader immediately if you’re having any problems. One of the most common problems we face in high altitudes is altitude sickness.
– Himalayan Glacier expedition guides, 10 Tips for High Altitude Hiking
Never ignore a headache at altitude. But don’t panic, either. Systematically work through the mimics. If the headache persists, or is joined by dizziness, nausea, or a loss of coordination (ataxia), your body is sending a clear signal. Heed it without question.
How to Cut 2kg from Your Base Weight Without Sacrificing Safety Gear?
The generic advice to “pack light” is perhaps the most frustrating platitude for a novice trekker. How light? What do I leave behind? As a guide, I can tell you the answer is never, ever your safety gear. The solution is not subtraction, but optimization. For a trekker over 40, carrying less weight is not just about comfort; it’s a critical safety factor. Every extra kilogram is a tax on your joints, your cardiovascular system, and your limited energy reserves at altitude. The goal is to strategically reduce your “base weight” (the weight of your pack minus consumables like food and water) by 2kg or more, which can transform a grueling ordeal into a manageable challenge.
This is not achieved by leaving your first-aid kit or emergency shelter at home. It is achieved by focusing ruthlessly on the three heaviest items in your pack: your backpack itself, your shelter, and your sleep system. This is known in the ultralight community as “The Big Three.” Shifting from traditional, heavy gear to modern, lightweight alternatives in these three categories alone can yield massive weight savings without touching a single piece of safety equipment.
The “Big Three” Weight Reduction Strategy
The data is clear. Experienced hikers demonstrate that focusing on ultralight versions of the ‘Big Three’ can achieve 2-3kg weight savings while keeping all safety gear. For example, switching from a traditional 2.5kg backpack to an 800g ultralight pack; a 2kg tent to a 1kg shelter; and a 1.5kg sleeping bag to a 700g quilt system saves a total of 2.9kg. This is a game-changing reduction that has a direct, positive impact on your daily energy expenditure and joint health, all while your first aid kit, emergency beacon, and navigation tools remain securely in your pack.
Beyond the Big Three, the next level of optimization comes from adopting a multi-use gear mindset. Every item in your pack should be questioned: can it do more than one job? An item that serves three functions replaces two other items you would have otherwise packed. This philosophy is key to shedding grams that add up to kilograms.
Your Action Plan: The Multi-Use Gear System
- Trekking poles: Select poles that can double as the structural support for an ultralight tarp or tent, eliminating the need for separate tent poles (a 400g saving).
- Buff/neck gaiter: This single piece of fabric serves as a towel, balaclava, sun shield for your neck, and an eye mask for sleeping in a hut.
- Down jacket: Your primary insulation piece for rest breaks also integrates into your sleep system, allowing you to carry a lighter-weight sleeping bag or quilt.
- Smartphone: It’s your GPS, camera, and emergency communication device (when paired with a satellite messenger and a backup battery power bank).
- Pack rain cover: In addition to its primary function, it can be used as a clean ground sheet for a lunch break or as an internal pack liner to ensure gear stays dry.
Weight management is not about deprivation. It’s about intelligence and efficiency. By investing in a lighter “Big Three” and adopting a multi-use mindset, you buy yourself energy, endurance, and a significantly higher margin of safety on the mountain.
How to Integrate Cold Plunges into a Morning Routine Without Missing Work?
While the core of your preparation is cardiovascular and strength training, advanced recovery techniques can provide a significant edge, especially for the 40+ body which may recover more slowly from intense workouts. One of the most effective, albeit intimidating, tools is cold water immersion. The benefits for reducing inflammation, boosting alertness, and building mental resilience are well-documented. However, the idea of a lengthy, shivering ordeal is a non-starter for most people with a job to get to. The key is not duration, but consistency and protocol.
You do not need an expensive ice bath or a 20-minute session to reap the benefits. A highly effective, time-crunched protocol can be integrated directly into your existing morning shower routine, adding no more than three minutes to your total time. The goal is a controlled shock to the system, not prolonged suffering. This micro-dosing of cold stress trains your body’s vascular system and your mind’s response to discomfort—both invaluable skills for high-altitude trekking.
The protocol is simple and progressive. You start with a short exposure and gradually increase the duration as your body adapts. The crucial element is the controlled breathing before you switch the water to cold. This calms your nervous system and prevents the initial gasp reflex, allowing you to enter the cold with control rather than panic.
- Minute 1: Begin with your normal warm shower.
- Minute 2: After 30 seconds of preparatory box breathing (4-second inhale, 4-second hold, 4-second exhale, 4-second hold), switch the water to the coldest tolerable temperature. Focus the spray on your legs and back, avoiding a direct blast to the head or chest initially.
- Minute 3: Return to warm water for recovery. Notice the powerful rebound effect of blood flow and the feeling of alertness.
Start with just 30 seconds of cold and add 10 seconds each week. This practice builds a unique form of physical and mental fortitude. Learning to stay calm and breathe through the intense discomfort of the cold is direct training for managing the challenging moments you will inevitably face on the mountain.
When to Start Reloading Carbs Before a Race to Avoid Water Bloat?
Nutrition, particularly your carbohydrate strategy in the days leading up to your trek, is a frequently misunderstood and mismanaged part of preparation. The old-school advice of “pasta-loading”—stuffing yourself with refined carbohydrates the night before—is not only outdated but can be actively detrimental for a trekker over 40. As we age, our insulin sensitivity can decrease, and our bodies are more prone to inflammation and water retention. A massive pasta dinner can leave you feeling bloated, heavy, and carrying an extra 1-2kg of water weight—the last thing you want when starting a multi-day ascent.
The modern, physiologically-aware approach is a gradual, multi-day “carb-reload” using low-glycemic carbohydrate sources. This strategy aims to super-saturate your muscle glycogen stores without the associated water bloat and blood sugar spikes. The process should begin 3 to 4 days before your trek starts, not the night before. This gives your body time to absorb and store the energy efficiently.
Instead of white pasta and bread, the focus shifts to complex, slow-releasing carbohydrates. Think sweet potatoes, quinoa, oats, and brown rice. These foods provide sustained energy without the dramatic insulin response. This is not just a theoretical benefit; it’s a proven strategy for endurance athletes in our age group.
Case Study: Carb-Loading Protocol for Masters Athletes
A study of masters athletes (aged 40-60) demonstrated this principle perfectly. Those who followed a gradual 3-4 day carb-loading protocol using low-glycemic foods like sweet potatoes and quinoa showed significantly better glycogen storage and less water retention compared to a group using traditional pasta-loading. A key element of their success was also tapering their sodium intake in the final 48 hours, which further helped prevent the unwanted 1-2kg of water weight gain that can negatively affect performance and comfort on the first crucial days of an ascent.
By shifting your mindset from a last-minute “load” to a gradual “reload,” you give your body the fuel it needs in a way it can actually use. You will arrive at the trailhead feeling light, energized, and metabolically optimized for the long days ahead.
Key Takeaways
- Your physiology over 40 responds differently to altitude, requiring specific vertical-gain training, not just generic cardio.
- Symptom differentiation is a non-negotiable skill; you must learn to distinguish benign discomfort from the early warnings of AMS/HACE using a systematic checklist.
- Smart planning—including gear optimization, season selection based on risk, and age-appropriate nutrition—is more important than raw fitness for mitigating age-accelerated risks.
Managing Intense Acclimatization Symptoms During Rapid Ascents Without Medication?
Even with perfect preparation, there will be moments at altitude where you simply feel unwell. A lingering headache, a touch of nausea, or the profound fatigue of hypoxia are part of the experience. While medication has its place, a well-prepared trekker has a toolkit of non-pharmacological techniques to actively manage these symptoms. This is not about “toughing it out”; it’s about proactively intervening to help your body adapt and to prevent minor symptoms from escalating. Possessing this toolkit empowers you, reducing the reliance on medication and giving you a sense of control in a challenging environment.
These techniques work by influencing your nervous system, improving circulation, and shifting your mental state. One of the most powerful tools is conscious breathing. A “rescue breathing” technique, involving a normal inhale followed by a forceful, prolonged exhale (e.g., 4 seconds in, 8 seconds out), helps to off-load more carbon dioxide, which can stimulate your respiratory drive and improve oxygen saturation. This simple act can often break the cycle of a burgeoning headache.
Another critical factor, often overlooked, is your mental state. Stress itself is a physiological burden. As medical teams on major expeditions have noted, anxiety can actively hinder acclimatization.
Individuals under emotional stress have a harder time acclimatizing compared to those who are relaxed and mentally prepared. Minimizing psychological stress positively impacts the speed of acclimatization.
– Altezza Travel medical team, How to Prepare for High-Altitude Trekking
Your toolkit should therefore include both physical and mental interventions. When a wave of nausea or headache hits, running through this active management checklist can make a significant difference, often allowing you to manage the symptom and continue your ascent safely.
- LI4 Pressure Point: Firmly press the fleshy area between your thumb and index finger for 60 seconds to help alleviate headaches and nausea.
- Rescue Breathing: Perform 10 cycles of a 4-second inhale followed by an 8-second forceful exhale.
- Forced Hydration: Commit to drinking 250ml of electrolyte-spiked water every 30 minutes for the next 2 hours.
- Gentle Movement: Unless you are severely ill, a slow, gentle walk around camp can aid circulation and prevent blood from pooling.
- Sleep Position: Elevate your head and torso by at least 30 degrees when sleeping to ease pressure and make breathing easier.
Your journey to a high-altitude summit begins months before you step on the trail. It is a project in self-management, physiological understanding, and disciplined preparation. By embracing these principles, you are not just preparing for a trek; you are investing in a safe, successful, and deeply rewarding adventure.